


How to Brew a Restaurant-Standard Cup with an Antler Drip Sachet
How to Brew a Restaurant-Standard Cup with an Antler Drip Sachet
There is a quiet ritual in every good Malaysian kopitiam: the order placed, the brew poured, the cup set down with the kind of confidence that only decades of craft can build. We have spent over 70 years perfecting that moment at Antler Coffee, and we believe you deserve it at home too.
A drip sachet is our answer to that. It delivers the fresh, café-consistent cup we are proud of, without the equipment, the guesswork, or the cleanup. But here is the thing we tell every customer: the sachet does the hard part, and the last few minutes are yours. Master those, and you will pour yourself a restaurant-standard cup on your very first try.
What Makes the Antler Drip Sachet Special
Before the how, a quick word on the what. Our signature Antler Classic Blend is roasted and ground in small batches so the coffee you open still carries the freshness we obsess over. The drip sachet format simply keeps that hard-won freshness intact until the moment you brew.
Think of it as a portion of our freshest roast, already ground to the ideal pour-over size, waiting in its own paper filter. You are not just making coffee. You are finishing a roast we started.
What You Need
Keep this simple. A restaurant-standard cup needs nothing fancy:
- One Antler drip sachet, any blend you prefer
- A mug that holds at least 250 ml
- Fresh water, preferably filtered
- A kettle or a pot to heat the water
- About two minutes of your morning
That is the whole kit. No scale, no special dripper, no thermometer you cannot read. We designed the Antler pour-over around making the process forgiving, so you can focus on the result.
Step 1: Heat Your Water to the Right Temperature
This is the single most important step, and the one most home brewers miss. Bring your water to a boil, then let it sit for about 30 to 45 seconds before pouring.
You are aiming for a temperature of roughly 90 to 95°C. Off-the-boil, slightly cooled water, gently extracts our beans without scorching them. Pour water that is still rolling and you risk a bitter, over-extracted cup. Pour water that has gone tepid and the coffee will taste thin and flat.
The easy fix: boil, wait half a minute, then pour. You will taste the difference immediately.
Step 2: Set Up Your Mug and Sachet
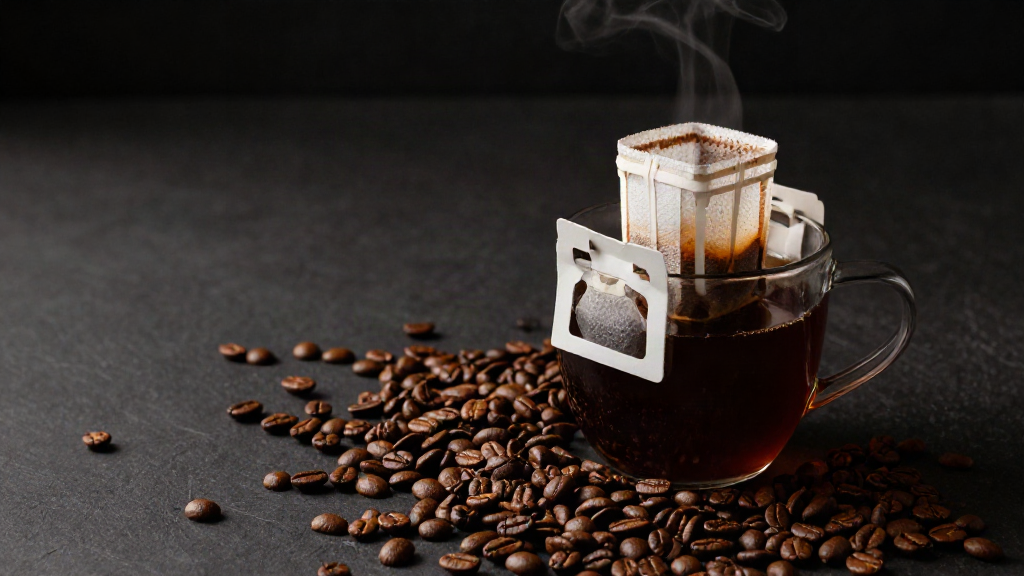
Unfold the ears of the drip sachet and place it securely over your mug, letting the paper filter rest inside the rim. Give the sachet a gentle shake so the grounds settle into a level bed. A level bed means even water flow, and even water flow means an even, balanced extraction.
Step 3: The First Pour, Known as the Bloom
Pour a small amount of hot water into the sachet, just enough to wet the coffee grounds, and stop. You will see the grounds swell and bubble. That is the coffee releasing the carbon dioxide trapped during roasting. It is also a sign your coffee is genuinely fresh.
Let the bloom sit for about 30 seconds. This little pause opens up the grounds and unlocks the aromas that get trapped in older coffee. It is the closest thing to a professional’s secret that still fits in a morning routine.
Step 4: The Main Pour
Now add the rest of your water in a steady, slow stream, pouring in a gentle circular motion so every ground gets its share. Aim for around 200 to 250 ml of water in total, depending on how strong you like your cup.
Pour slowly. A rushed pour forces water through faster than the grounds can extract, leaving your cup weak. A slow, even pour gives the water time to work through the coffee and carry out the full body of the roast.
Step 5: Let It Finish, Then Enjoy
When the last of the water has drained through, lift the sachet and give it a light shake to settle a final few drops. Then set it aside. Do not press or squeeze the spent grounds, as that presses bitter notes into an otherwise clean cup.
You are done. You have just brewed a restaurant-standard Antler cup, using only a mug and a sachet.
Which Antler Blend Should You Choose?
Your brewing ritual is the same across our range, but the cup differs in character. Here is our simple guide:
- Antler Classic Blend Drip Sachet — our signature, balanced and full-bodied. The ideal starting point if you want the classic Antler taste.
- Antler Delight Blend Drip Sachet — smoother and milder, built for those who prefer an easier, gentler cup.
- Antler Superior Black — bold and full-bodied, for the drinker who wants strength with no fuss.
Heat, bloom, pour, enjoy. That rhythm carries every one of these blends to its best.
A Few Pro Tips for the Perfect Cup
- Use filtered water. Great coffee is mostly water. If your tap water is hard or chlorinated, filtered water unlocks a noticeably cleaner cup.
- Keep your mug warm. A quick rinse with hot water before you start keeps the coffee hot longer.
- Don’t rush the bloom. That 30-second pause is worth more than any gadget you can buy.
- Drink it fresh. Coffee is best within a few minutes of brewing. A drip sachet makes a single, fresh cup each time, so there is no reason to let it sit.
The Antler Promise
Across more than 70 years, we have kept one promise: freshness and quality in every cup. The drip sachet is our way of handing that promise to you, one single-serve pour at a time. No barista, no machine, no guesswork, just the ritual of a good brew and the satisfaction of a cup poured right.
So go on. Heat your water, give it half a minute, and pour yourself the kind of coffee we have been serving for generations. The classic Antler taste is waiting, and this time, the cup is all yours.